Hello World
一个最小的 React 示例:
1 | ReactDOM.render(<h1>Hello World</h1>, document.getElementById("root")); |
这个例子会在页面上渲染出 Hello World 。
Introducing JSX
jsx 的语法允许下面这样的变量定义:·
1 | const element = <h1>Hello World</h1>; |
此时 element 是一个 DOM 结点。
jsx 中嵌入变量
1 | const name = "Josh Perez"; |
jsx 也是表达式
jsx 可以像一个表达式一样由一个函数返回:
1 | function getGreeting(user) { |
在 jsx 中添加属性
首先属性名应该使用驼峰式的命名方式,如下:
1 | const element = <div tabIndex="0" />; |
这个例子同时也说明了如果属性值是字符串字面量时的语法,如果想在属性值中潜入 js 代码,使用下面的语法:
1 | const element = <img src={user.avatarUrl} />; |
此时要注意大括号外不要添加引号。
如果要为元素添加 class 属性,需要将 class 属性写作 className,class 在 js 是保留关键字。
jsx 的本质
jsx 最终会变为一个 React 元素,下面是一个简单的 jsx 示例:
1 | const element = <h1 className="greeting">Hello, world!</h1>; |
这段代码和下面这段代码含义相同:
1 | const element = React.createElement( |
它们都将产生一个 React 对象:
1 | // Note: 简化的形式 |
Rendering Elements
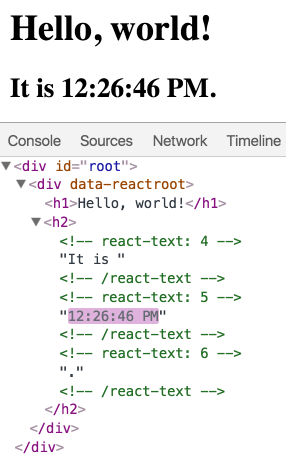
React 的元素是不可变的,我们无法改变一个元素的孩子节点或属性,目前为止可以用下面的方法更新 UI:
1 | function tick() { |
同时这个例子中,React 并不会更新整个页面,而是只更新需要更新的部分。